Defrosting Tuna - A Step-by-Step Guide
Ali Hussainy is a Local Knowledge Fishing Show co-host and a tuna connoisseur with extensive fishing experience. Since Ali is no stranger to catching tuna, he has perfected his defrosting technique to ensure none of his catch goes to waste. Sometimes, people hesitate to eat frozen tuna because they think it's poor quality. However, that's not the case. The proof is in the process, and following Ali's defrosting method delivers fresh and high-quality tuna every time.
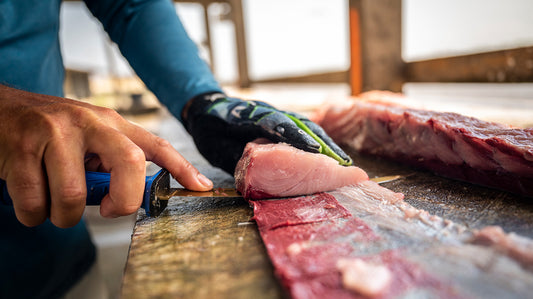
For this demonstration, Ali uses a halfway defrosted shoulder cut from the 200-pound bluefin he caught two days before. The tuna has dark red areas where the fat is, which gives it its rich flavor.
Defrosting Tuna - How to Thaw Frozen Fish
Step 1: Remove Your Tuna from the Freezer
Start the 2-3 day defrosting process by taking your tuna out of the freezer. The most effective way to freeze tuna is by using a vacuum-sealed bag. Vacuum-sealed bags eliminate moisture and remove all the air, so your fish doesn’t spoil.

Step 2: Soak Up Moisture from the Fillets
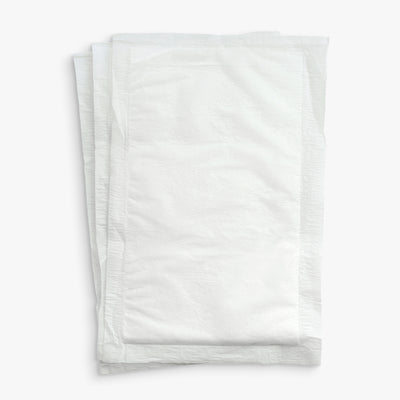
In this example, Ali has his tuna in a vacuum-sealed bag. After removing it from the bag, he puts it on a clean paper towel and pats it down to soak up as much juice as possible. Pat your fillets dry until all the moisture is gone; it may take several paper towels. Also, instead of using regular paper towels, Ali recommends using Wypalls. They are a brand of food service paper towels with a cloth-like consistency, so they don’t stick to the fillets as much as generic paper towels. Absorbent pads are another great tool to absorb the moisture from your frozen fillets. They also help soak up bacteria to keep your catch fresh and avoid a fishy taste.

Step 3: Completely Cover Your Tuna to Absorb Excess Moisture
Once that’s complete, grab a plate to set your fillets on and use several paper towels to wrap up your tuna like a burrito until it’s fully covered. Making sure your fish is fully covered is critical to collecting moisture. Built-up moisture causes the fish to spoil faster, and the goal of defrosting is to remove it to ensure you have the best-tasting fish.

Step 4: Refrigerate Fillets & Replace Paper Towels Until Ready to Eat
Next, set your fridge as low as possible to chill your fish. Doing this helps bring moisture to the surface. During the first 24 hours of this process, you should change the paper towels once or twice and re-wrap your fish with fresh ones. After a day or two of repeating this process, you can unwrap your fish, and it should be ready to slice. With the moisture out, your fish will be firm and flavorful. Whether you prefer to eat raw or seared tuna, following this process will give you a superior product.
Bonus Pro Tips
If time is of the essence, avoid defrosting fish in the microwave, even if you need to thaw it quickly. Doing so significantly decreases the quality and will leave you with soggy fillets. Also, do not refreeze fillets after initially thawing them.
Instead, a more effective and efficient defrosting method for vacuum-sealed tuna or frozen fish is by using cold water. Start by grabbing a deep bowl or tray and filling it with cold water. From there, ensure all the pieces are fully submerged and let them thaw for 15-20 minutes. Once that's complete, remove your fish from the vacuum seal bag, blot it dry, and cook. If you use this method, keep your fish inside its vacuum-sealed bag, or it will absorb water and lose flavor.
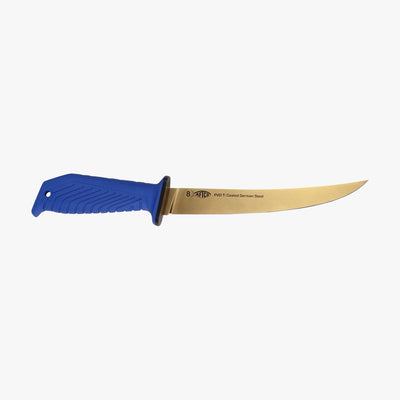
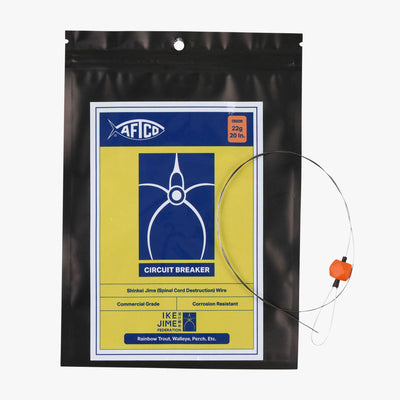
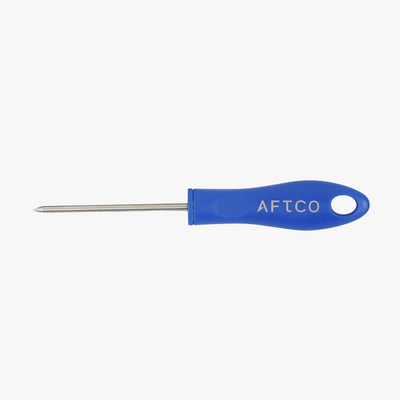
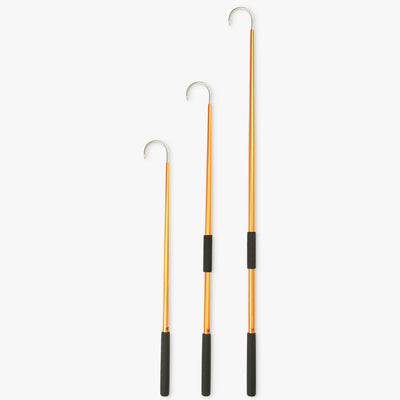
The highest-quality tuna starts the minute anglers land their catch on deck with proper fish care. Using the Ike Jime method and fish care products, in addition to proper freezing and vacuum sealing, anglers can enjoy their fresh tuna months after their catch.

From mastering bluefin sushi cuts to perfecting sashimi recipes, check out the harvesting bluefin tuna blog and the ocean to table collection to ensure you always get the most out of your catch. Try Ali’s defrosting fish method and taste the difference for yourself.